
Archive for February, 2005
Shark Tale (2004)

I sure do see a lot of movies in this area of the alphabet, I wonder if there is a study on why that may be, I NEED SOME ANSWERS!
Shark Tale. About Will Smith who is a small fish in the big ocean who wants to be better than he is. By a stroke of luck, and a little lie, he convinces his whole city that he can kill sharks. Then he hooks up and makes friends with a timid shark with the voice of Jack Black. Together they further this lie to the breaking point. Finally Smith realizes what he has and admits his mistake and everyone lives happily ever after. Also starring the voices of Angelina Jolie, Robert DeNiro, and Renee Zellwegger.
I thought this movie kind of sucked. I am not the type to sit and compare to the other films of the same genre, even though it is a little weird that I think this is the second time Dreamworks has released a full length animated film of the same idea right after Pixar. Shark Tale is different from Finding Nemo in that Nemo had a ton of realism in it’s characters and surrounding. This film is more an illustrative interpretation.
So, for the very least you should see this movie for the imagination. But that is it.
I laughed, hard, five times in the movie. I didn’t chuckle otherwise. It was just kind of cheesy humor, and nothing very inventive.
So, this won’t touch anything done by Pixar in creativity, only go see it if you marvel at how these films are done, which I do.
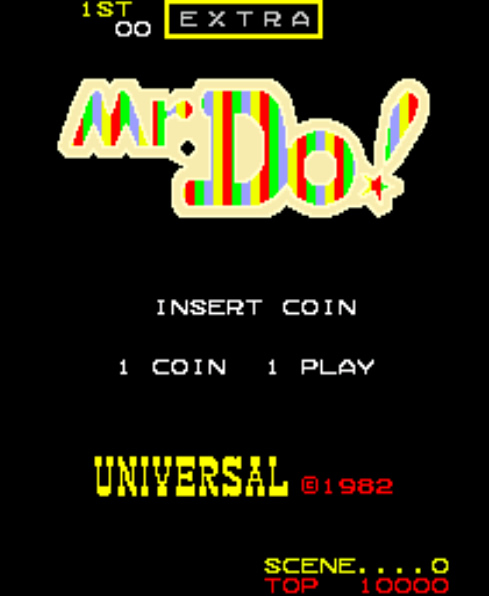
Mr. Do! – Best revision on Pac-man?
The blog has always been about my interest, so I thought tonight maybe I would share what has been my release for the last two weeks, in the form of old stand alone arcade games. Here are some screenshots of “Mr. Do” which I happen to love, even though I haven’t found anyone else that feels that way.
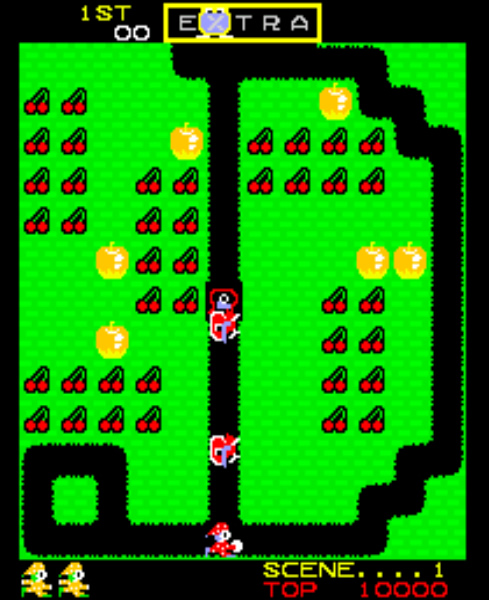
It is kind of like Pac-man with a weapon and the opportunity for extra lives. I feel like I have more control on if I get to the next level instead of strictly basing it off whether I make the lucky turn or not to avoid the bad guy.
Mr. Do diggs around the board collecting Cherries and has a ball you can throw and explode the bad guys. Then if you get the “Magic Food” for the level, out come three cookie monster looking guys who are followed by a letter on legs. Trippy, I know. But you shoot the letter and eventually if you get all five to spell Extra, then you get an extra life and continue your game.
Click on the thumbnails below of Mr. Do screenshots to see larger photos.
Valentines Day

I got Sarah some Godiva chocolate strawberries tonight for the commercial holiday. She has been wanting them since our wedding, so I figured it would be a nice surprise to indulge her.
Mardi Gras themed get together with Buissons


John Buisson emailed me about three weeks ago about getting together for Mardi Gras, and they promised us a King Cake with a little baby in it. I said, “John I am not sure if that is an invitation, or a cry for help, but I am there, baby cake away!”
We had a hard time working out a weekend because of our rash of popularity for a couple of weekends now. But we did work it out only four days after Fat Tuesday.
We played Scene It as I mentioned and just talked about stuff.
After the Sunset (2004)

I liked this movie. It was entertaining. It was probably recycled from a bunch of movies about great thief / cop stories, but who better to play the two antagonizing roles then Woody Harrelson and Pierce Brosnan.
Also starring the gorgeous Salma Hayek, this movie is about Brosnan, who is a huge jewel thief and Harrelson who is an FBI agent. Brosnan steals one of the Napolean diamonds right out from underneath Harrelson’s nose, in what is a great fun action sequence involving Brosnan driving an SUV through metropolitan streets with a remote control, and that furthers a great rivalry of hate and love.
Brosnan escapes with his partner, Hayek, to a remote island where they retire. Until Harrelson tracks them down seven years later. Brosnan finds out about another Napolean diamond on a cruise ship that is stopping at his island for a week and Harrelson is trying to stop him. A ton of funny scenes and great interaction from the always funny Harrelson and Brosnan, in the end after a lot of backstabbing, they both get what they want.
If you like Pierce or Woody, or like to laugh, see this movie. If you get hung up on originality or get offended by lots of skin by beautiful women, then pass. But I think it is always worth it to see the crazy ideas and technology that is involved in some of these jewel heists.
Harold and Kumar Go To Whitecastle (2004)
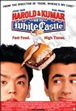

I tend to like these type of silly movies. College aged movies that are silly and a little grotesque in humor. But this was pretty stupid even for my standards. I was hoping for a level of funny silliness like “Dude, where’s my car?” but no such luck.
Harold and Kumar have limited small character fame as “That Indian Guy” from Van Wilder and “The Asian guy who invented MILF” from the American Pie movies.
They are both at college, looking for some fun, and after smoking up determine they need some White Castle and all sorts of random things happen. But even though I can take random, like a “Road Trip” or “Eurotrip” movie, but this didn’t even make sense.
It was bad enough to not even barely write a review. I laughed a couple of times, but that was it. And even though I didn’t find a movie like Dodgeball funny, I could appreciate it. This, just sucked. Don’t see it.
Band of Brothers Series (2001)
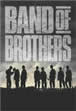

Now, I wrote about this movie when I saw parts 3-4 in December of last year, just before Christmas, and this is what I had to say.
When Sarah was student teaching in Seymour, her host family was the pastor at the school and church where she was at. He highly recommended this HBO series from a few years back.< We rented part one and I didn't really think much of it. All I remember was that David Schwimmer was in it. Seeing as it has been over a year since we saw part 1 & 2, parts 3 & 4 didn't make a whole lot of sense. Justin also really enjoyed the series, and that is what made me give it another try. If you like War stories, kind of in the vein of Saving Private Ryan but a little less gory, then this is your bag. With interviews with some of the cast members, this really gets into the development of the different characters and seeing the different effects war has on every solider. Last weekend Justin came down and we watched the whole series, all 10 hours. It was a daunting task, and because of the constraints, sometimes it wasn't as enjoyable as it could have been. You need to really watch this series in larger chunks, and you are stupid if you don't at least appreciate the story, and what the men from Easy Company 101st Airborne went through in WWII. So many characters and so many lives, and it develops each and every one of them individually and in depth. The story's strength really is in the characters and picks up so much strength after the fourth and fifth part when you really start to get attached to them. Beautiful scenery, unbelievable scenarios, and just the whole weight of everything that happened in that war are all conveyed here. With great epilogues about what the characters are doing now, and testimonials from the actual people that the story is based on, this series by Spielberg and Hanks really is an unknown classic right now that could use a little more attention. At the very least, watch half of it and appreciate what those men did for our freedom and what war means in context of what is going on in Iraq today.

