
Custom Space Invaders Video Shake Fix
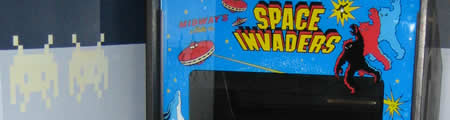
Recently my Space Invaders started to show signs of the crappy Amp edge connector problem. Poor contact between the connector and the Space Invaders pcb causes the video to randomly shake, wave, wiggle or whatever you’d like to call it. For awhile I was able to solve the problem with a Fonz like rap on the side of the cabinet, but as time went on the problem became more pronounced until it was always there when the game was powered on. I was determined to fix the video display problem so here is my custom & reversible connector fix.
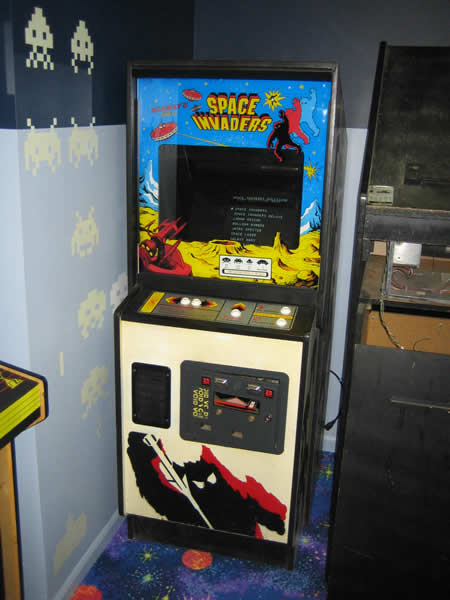
Pulling out the Space Invaders
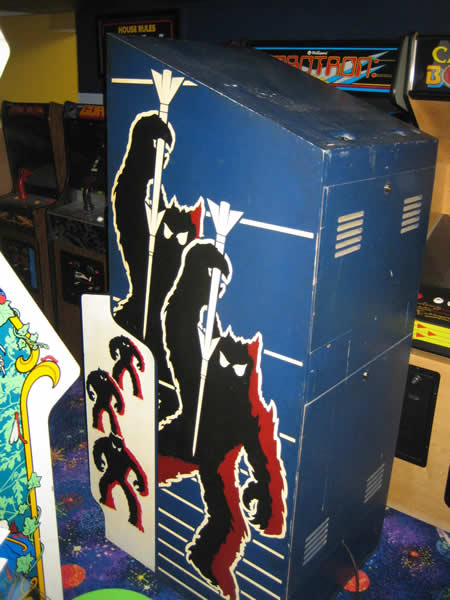
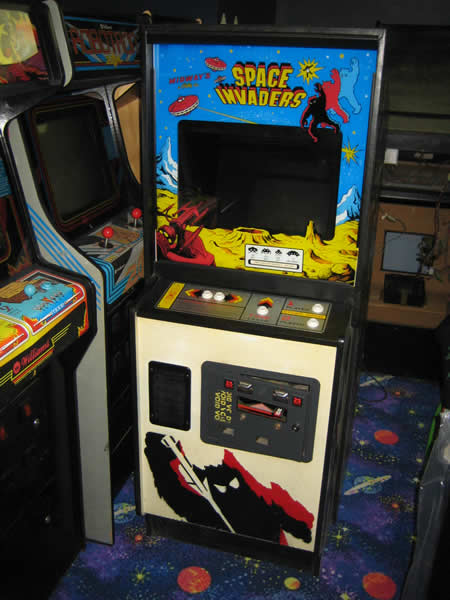
Let’s open it up and take a look. The Amp connector can be seen here
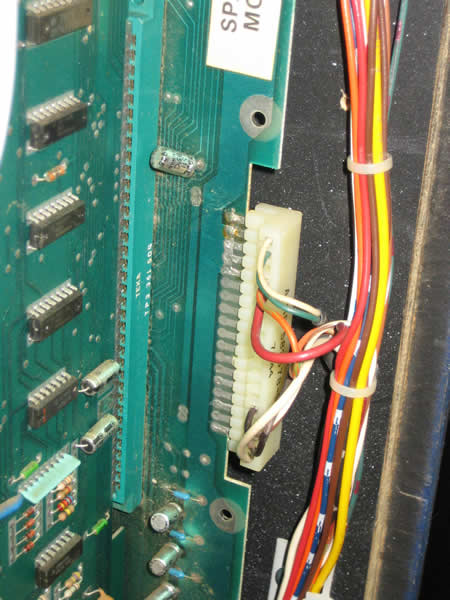
and the damage done is visible here
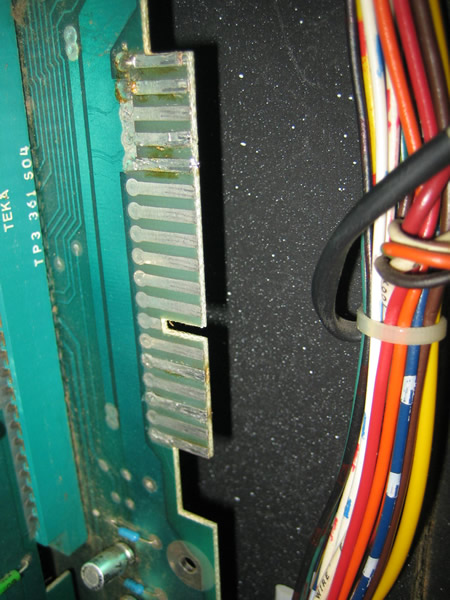
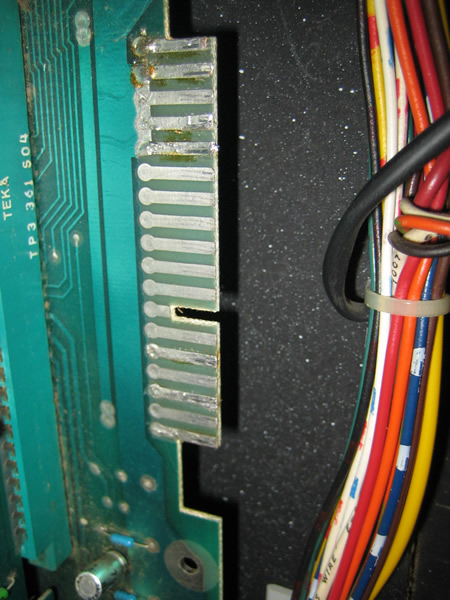
The connector creates grooves in the traces and these get worse every time you remove and replace it. Over time, expansion and contraction of the grooves create just enough of a gap to cause the contact issue.
Researching Space Invader connector fixes on RGVAC and KLOV
So what to do? I did reasearch in the archives of RGVAC, KLOV and a few good arcade game websites. There are many suggestions about how to fix this issue, but since the edge connector already had some repair work done to it, reflowing solder on the traces didn’t seem like a great idea to me. I happened to mention the issue to a tech buddy, Bill K, and he gave me a great suggestion to just by pass it altogether. Now it wouldn’t be “original”, but it would be a rock solid solution that could always be reversed if necessary. So here’s what we did:
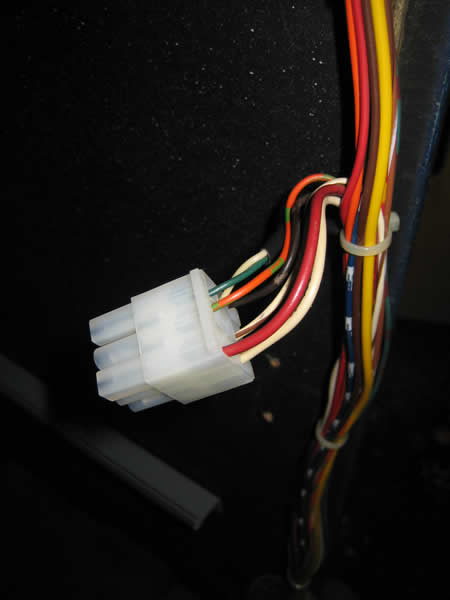
Step 1: The first thing was to find a molex connector, pins and enough scrap wire to make 7 leads. Then the holes at the base of each trace were desoldered. Each lead was stripped, tinned and pinned with male connectors which were then inserted into the female side of the molex. The little harness was wire tied to the pcb and the wires trimmed to length. Then the loose ends were stripped and soldered into place through the trace holes. You can see the results here;
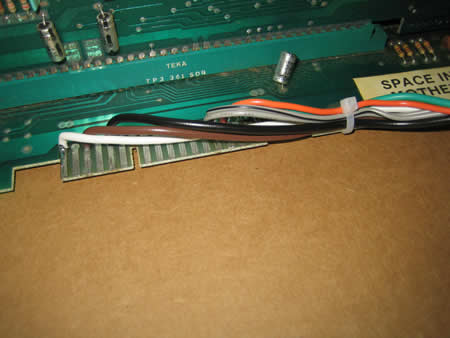
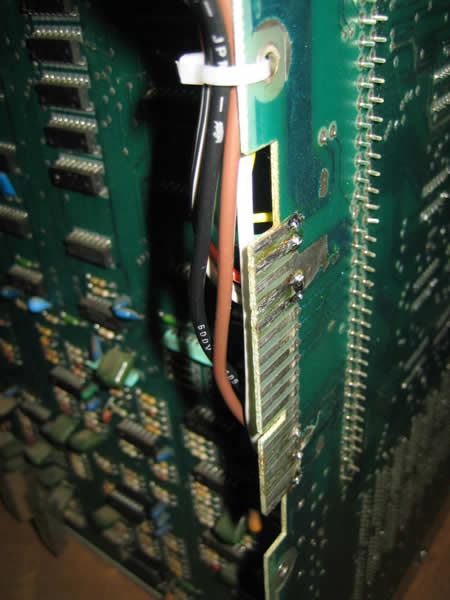
Looks very promising so far!
Step 2: Clip off the old Space Invaders Amp Connector
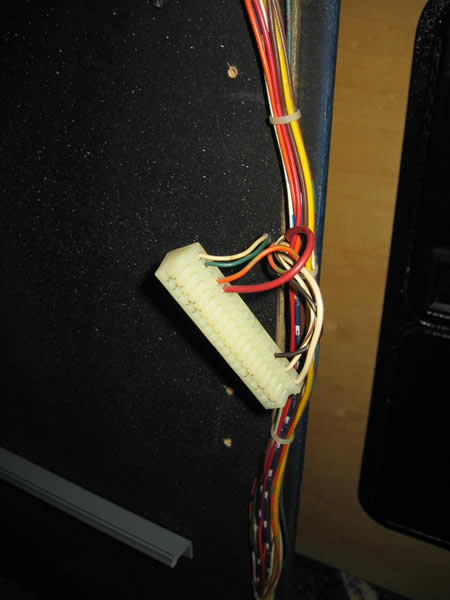
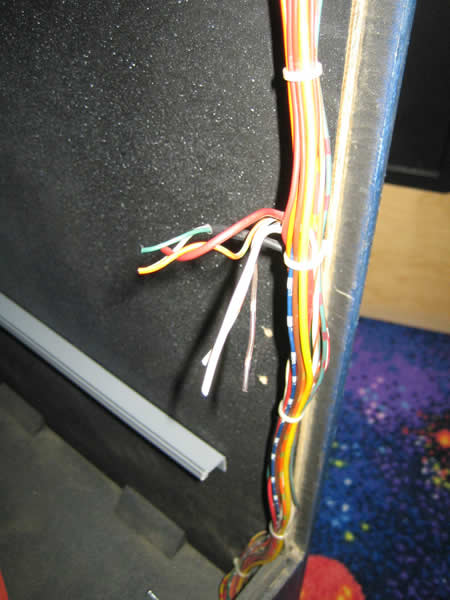
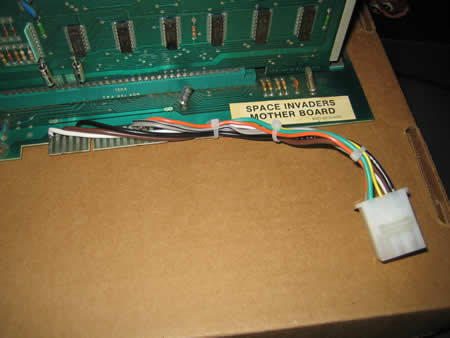
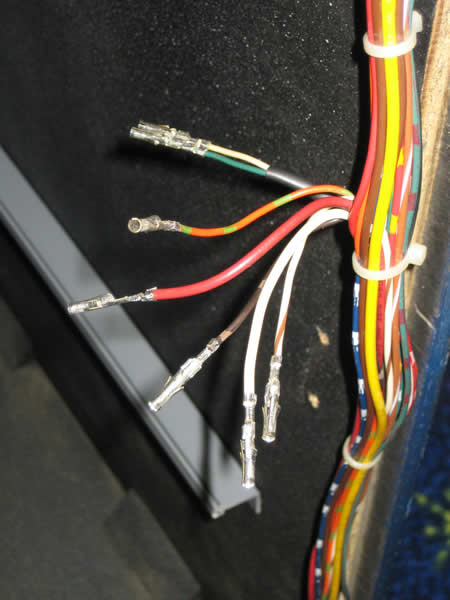
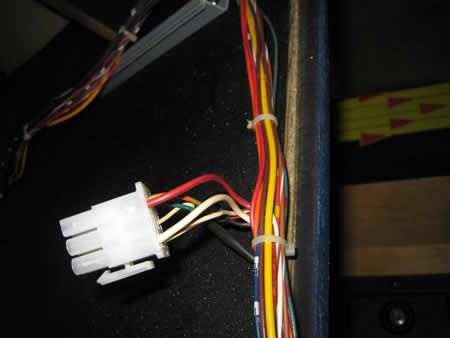
so I could strip and pin the wires with female pins. Now before you clip off that connector, make sure to note which wire connects to which trace, if you don’t you’ll need to dig out the schematics to figure it out later on. I stripped and pinned the wires
and popped them into the male connector. The female pin/male connector is the better combo to use on the power side of the harness as the pins are supported better in the molex. You can see the results here;
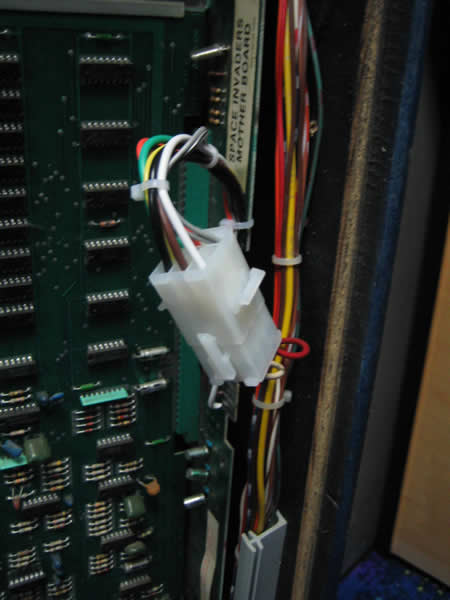
Step 3: I double checked to make sure I hadn’t mixed up a pin location and after everything looked good, I put the pcb back into the cab and plugged it in.
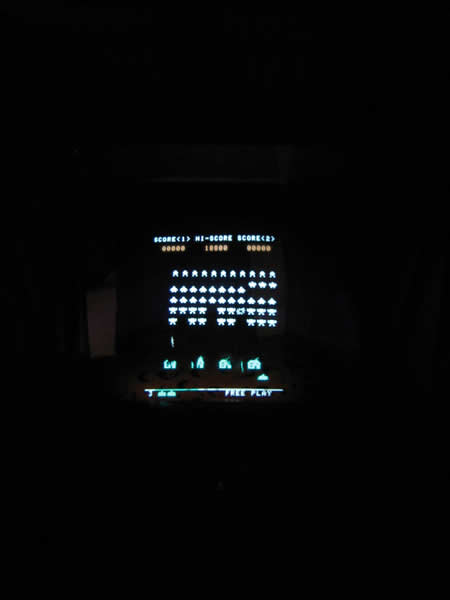
I fired up Space Invaders and had a perfect image without the shakes! Quick solution for an annoying problem and it should last another 30 years.
A great guest post – A little bit about Chris Moore
Originally titled ‘My Space Invaders has the jitters!’, this article was written by Chris Moore. Along with Joe Magiera and Hans Osvoll, Chris is one of three collectors that have been so successful in the Chicago area in finding games for his collection because he is a down to earth, altruistic man who understands, you do get what you give. I met Chris, he welcomed me into his home and showed off his impressively well maintained games and large number of projects;) He has since shed a lot of those fixer up games and pared down to a nice collection of his arcade favorites.
Newer collectors may not know Chris, so it would be worth to note that Chris took on a major gameroom project in the last year that turned out beautifully, seamlessly merging a gameroom with his living space. His modest but appropriate decorations adds to the retro-nostalgia feel while keeping the basement completely functional for other purposes. The overall house expansion was simply mind boggling, if you get to tour his gameroom, ask him about it. Not to mention, he can probably help you out if you need advice on designing your own arcade gameroom, anything ranging from arcade themed carpet to structural planning. Word on the scene is that he is an expert on duct work 😉
How Chris and I met up
Chris and I met through the collecting forums, and I worked with him a little bit on his arcade game website. He didn’t know I was going to show it off a little bit here, but here is a screen of what his arcade website ‘Tokens Only’ will look like.

Give Chris some encouragement to get that site up and started. He might even want to make it a blog site from one of my arcade WordPress themes once my free time increases in another week. But Chris runs an immensly successful business and that takes a lot of time so Chris is always welcome to write up informative posts for Rotheblog in the meantime.
Guest Arcade Articles
Write one of your own for Rotheblog.com. It fills that outlet of sharing your arcade project with the world, it gets your gameroom exposure, it gets you noticed and expands your contacts, and sends some 5-8 thousands readers to your website. We’d love to have you, contact me.
Here are some similar arcade posts
- Replacing Crazy Climber joysticks Part 2
- Pengo board arriving today.
- Putting WG4700 Series monitor in R-Type
- Space Invaders Boards in the mail
- Amp connector on the way
If you enjoyed this post, please consider to leave a comment or subscribe to the feed and get future articles delivered to your feed reader.


Comments
No comments yet.
Leave a comment
Your email address is never displayed and cannot be spammed. If your comments are excessively self-promotional you will be banned from commenting. Read our comment privacy policy.