
Donkey Kong Arcade Game Restoration – A Photo Walkthrough
Donkey Kong has seen a tremendous resurgence of interest since the movie King of Kong was released. Many more people are showing interest in owning an original cabinet and keeping it in their home arcade.
Many of these cabinets will have wear and tear from 20 years of moving around from location to location and some restoration will be necessary to make your Donkey Kong look like the arcade game you remember.
Here is a photo gallery showing someone who restored their Donkey Kong (not me), converting back from a Rastan to its original Nintendo glory. From hole patching to side art placement, this photo tutorial has a lot of good information.
Feel free to leave comments with any questions, and even though it is not my machine, I will do my best to answer them. You can also visit my Donkey Kong arcade game page which contains a lot of information and resources to answer your questions.
Donkey Kong cabinet restoration – Part 1
Finding a Donkey Kong in your area should not be all that difficult. But usually, a complete working cabinet will cost $400-$450. Sometimes it makes more sense to buy a cheap cabinet and restore it. That is what this one home owner did.
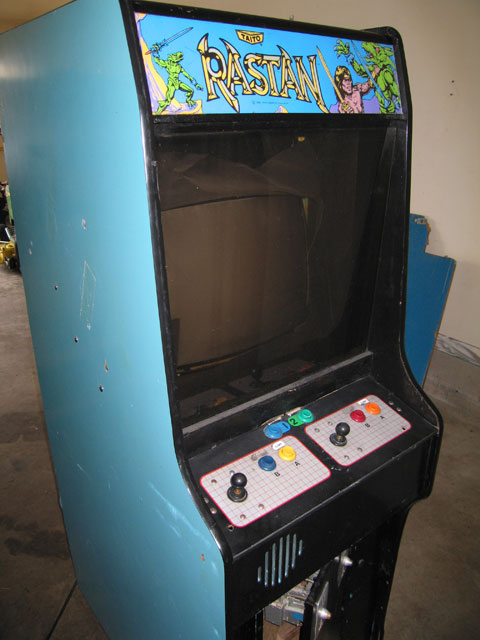
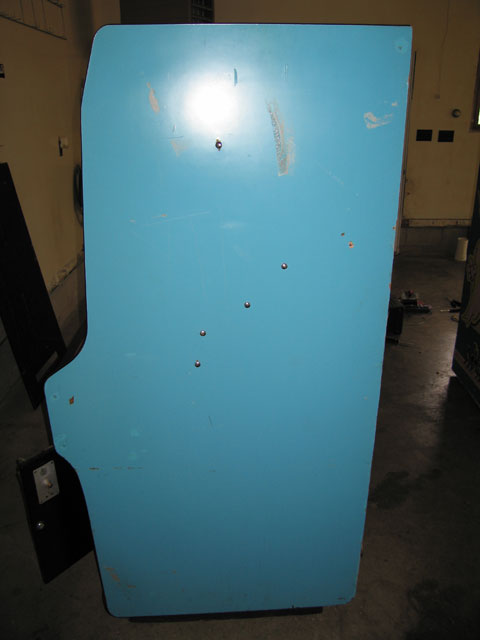
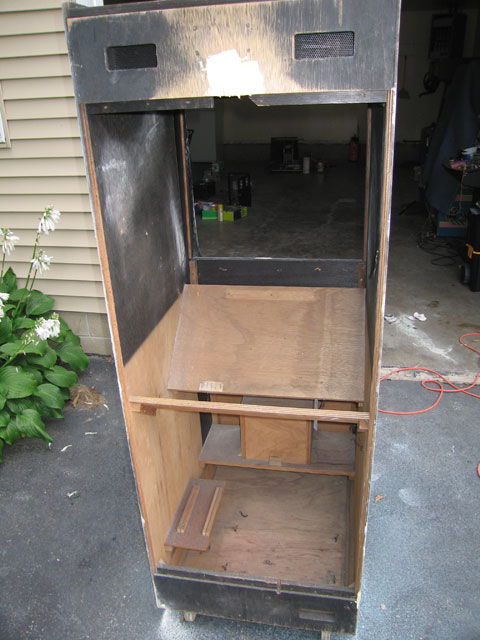
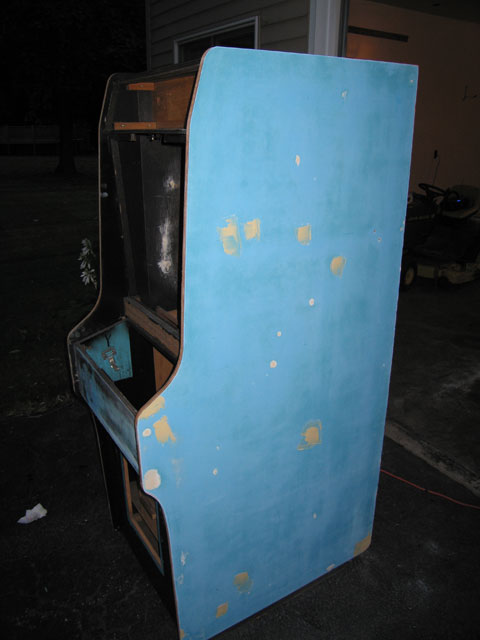
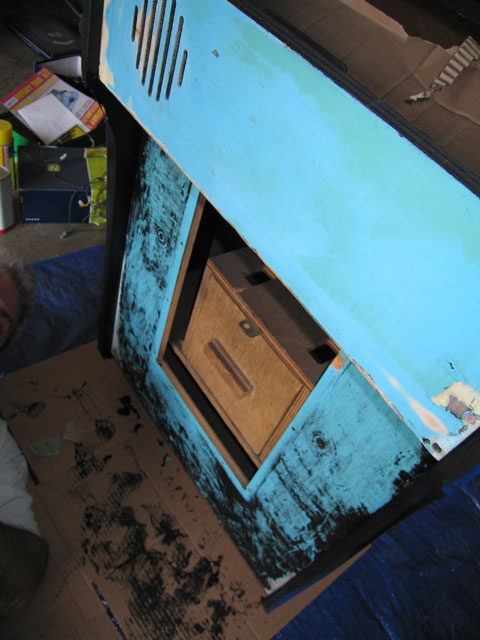
This was originally a Donkey Kong cabinet that looks like it was converted to a Vs. cabinet then later converted to jamma Rastan cabinet. $60 dollars later and 3+ hours we had the cabinet home, and in the garage. As you will see, we had to do alot of filling and sanding ahead of us – The first photo is showing the cabinet converted to a Rastan and then the second shows some of the scratches and dings.
First step, use bondo to patch all of the imperfections on all sides of our Donkey Kong cabinet, even including the back door.
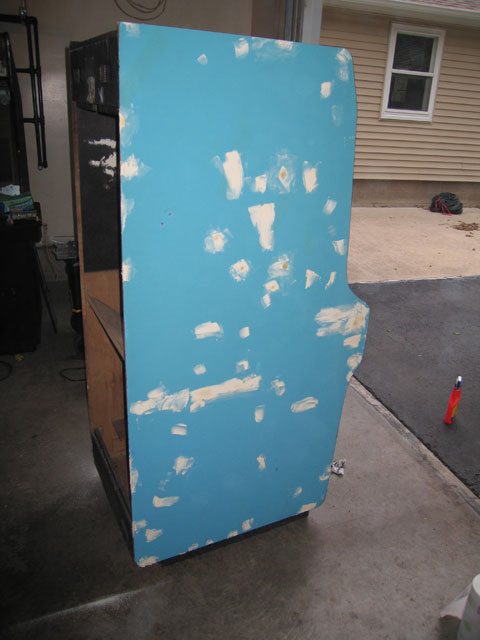
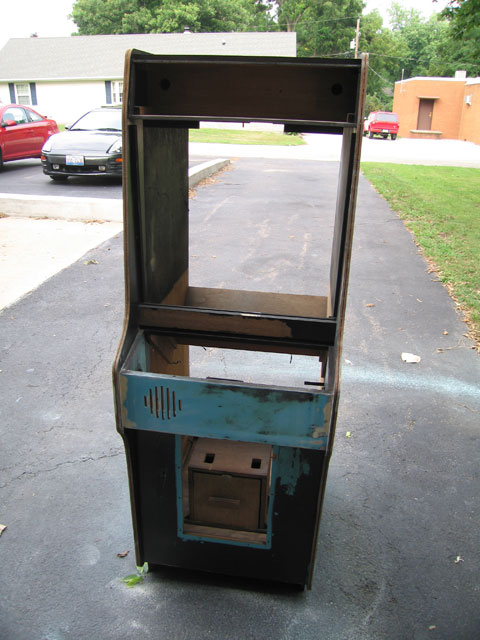
After the Bondo dried, time to sand down the sides of the cabinet.

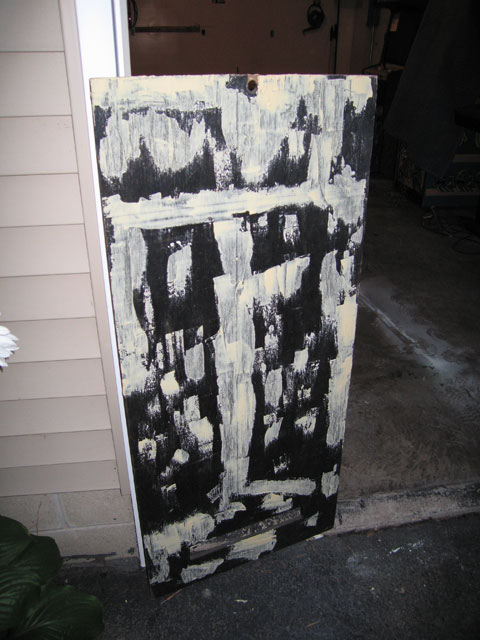
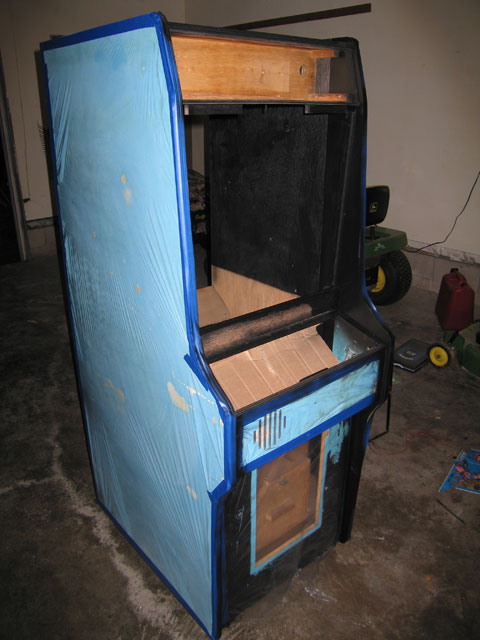
The front had been repainted in black at some point in its life, but it was an extremely sloppy paint job. We started to use paint stripper on the Donkey Kong and get it to a base to be repainted.
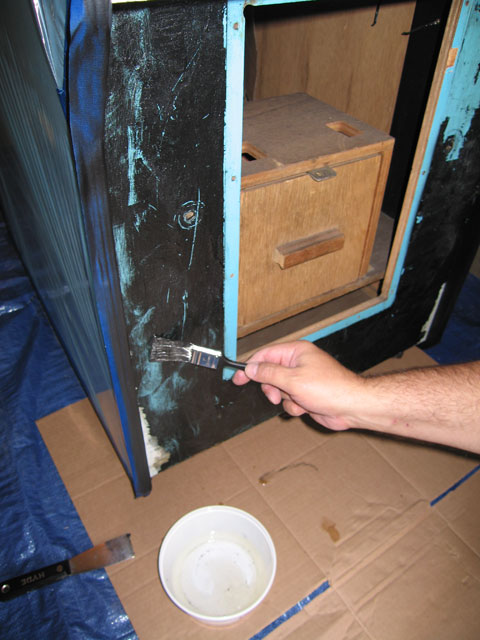
After that we taped off the sides so we can paint black on the inside.
Donkey Kong arcade restoration Part 2 – Primer
Coming in the next part of the tutorial, we are going to start to lay down the primer on the sides of the cabinet before we give it a fresh coat of blue!
Here are some similar arcade posts
- Warrior – Converted into a Donkey Kong. Oy.
- Donkey Kong Deal in Indy
- Donkey Kong 2 Marquee Films
- New Donkey Kong 2 Webpage Design
- Donkey Kong WordPress Theme – Ver. 1
If you enjoyed this post, please consider to leave a comment or subscribe to the feed and get future articles delivered to your feed reader.


Comments
Leave a comment
Your email address is never displayed and cannot be spammed. If your comments are excessively self-promotional you will be banned from commenting. Read our comment privacy policy.
Pingbacks / Trackbacks
The Popularity of Arcade Games (computer games to download) | Computer Games To Download
Pingback on October 24, 2010