
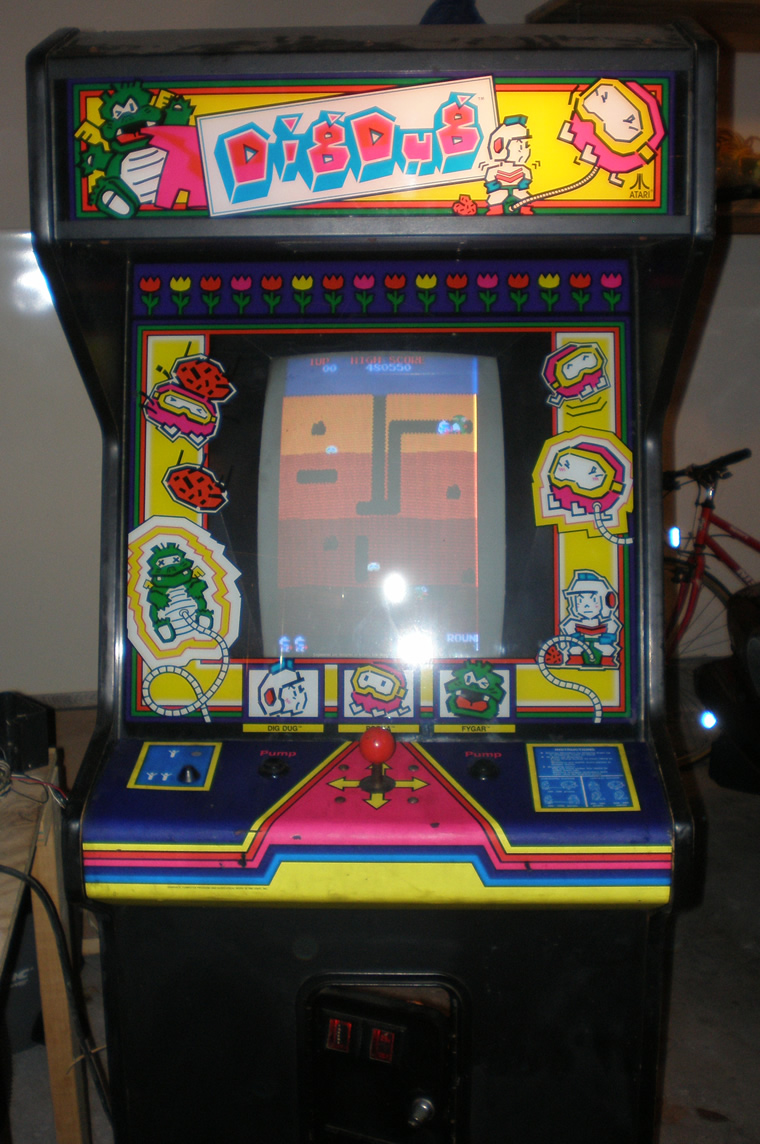
Dig Dug
Adjusting Dig Dug Color, now it looks great!
This afternoon I took some time on the Dig Dug outside to see if I could figure out what was going on with the color issues. I took my huge oversize mirror out so I could see what I was doing. I was able to adjust the vertical sync a little bit more to get the picture right, and then I adjusted the color controls, mostly adding more blue into the picture and the game looked great!
I was pumped. I was starting to get nervous that somehow I had did some of the caps wrong. I knew the color caps shouldn’t be on the main chassis, but again, don’t know that much so who knows what all that affected.
I got the paper bezel out, and brought out the glass one with artwork from the basement and put it all back together. Pretty exciting to have the Dig Dug game in a working condition. I also put in a new lightbulb into the marquee and everything lit up just fine. The sound was defening, just like the Pengo, and I couldn’t figure out what to do. I looked at the schematic, and I could tell that there was supposed to be some sort of sound control inside the coin door. Well, turns out, the little control mount inside there that I got off ebay was missing the knob for the sound dial. I only figured that out when I compared it to what I had on the Dig Dug inside the house, which still had the dial. My old control mount from when the game was still a Land Sea and Air didn’t have the dial either. It seemed like it was well mounted on the machine it was on, so I don’t know why the other two mounts had lost it.
So, I got the metal peg to turn and make the game playable sound wise. So, for now, the game is done. I listed the one in the house on ebay, so now I have to figure out what to do with this one. I have to work on the cone one and two player buttons on the Dig Dug outside a little bit, but that is the last piece to finish.
New Dig Dug Coin Door Amp Connector
Got the new AMP connector hooked up with the old coin door wires tonight, so that was pretty exciting. I coined up and played just fine, the coin door bulbs even came on. However I realized I hadn’t hooked up the Player 1 and Player 2 LED Cone buttons. So I had to go inside and check the connections on the other machine. The one button has solder on it for some reason, so I may just swap that one out. It has a broken cone, so it doesn’t even stay in the hole. I also had to re-attach the right side pump button.
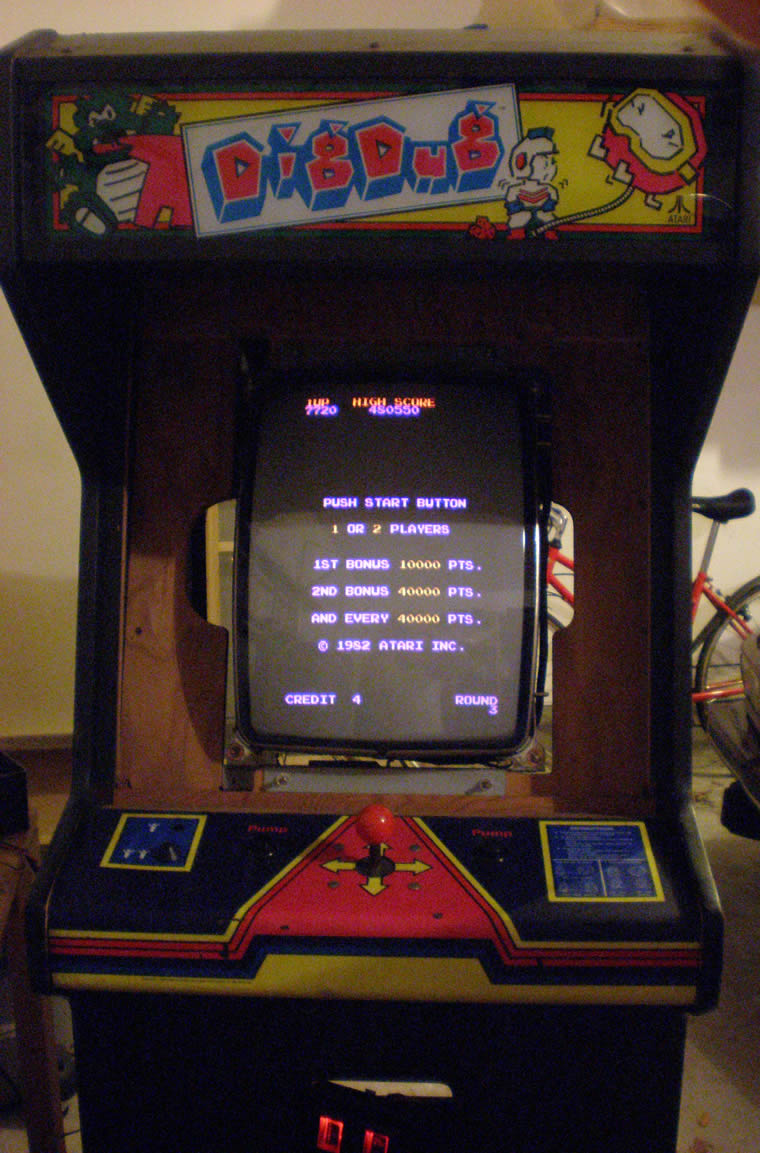
But other than the fact that there was quite a red tint to the game, I got to play it tonight. The alignment is off a little, the guys look a little funny. I also noticed that the marquee light didn’t come on, so I have to figure that out. Plus, the sound, is deafening, just like my Pengo. I will have to see if there is a Pot for that somewhere, and if it is working.
So, every time I think I am close, there is something else minor going on. But I think I am still going to try to list the other game this weekend.
Amp connector on the way
Tonight was a fairly exciting night. I spoke with another really helpful, really intelligent collector who helped me understand something that should have been simple but I just didn’t see myself. The 2×3 AMP connector coming off the EZ20 monitor was indeed for the RGB Ground and Sync.
The Red and Green wires terminating in a molex connector were for the power, the colors and location were just throwing me for a loop. I looked at the old harness I took out, and sure enough, there was the 2×3 AMP connector, and then pigtailed off of that was a regular .156 headers for the RGB and sync as well as the ground as a seperate connector. Fortunately the wire colors were the same, so all I had to do was snip that whole piece off, and match up the same wires together on the original harness. I did have to “hack” the original a little bit, cutting off that RGB Sync and Ground connectors there, but in this instance at least I would have both options for the future no matter what monitor.
So, I matched up the wires, soldered them together, connected the 2×3 AMP and let the unused RGB sync and ground dangle, wrapped up the soldered wires in electrical tape and plugged it in.
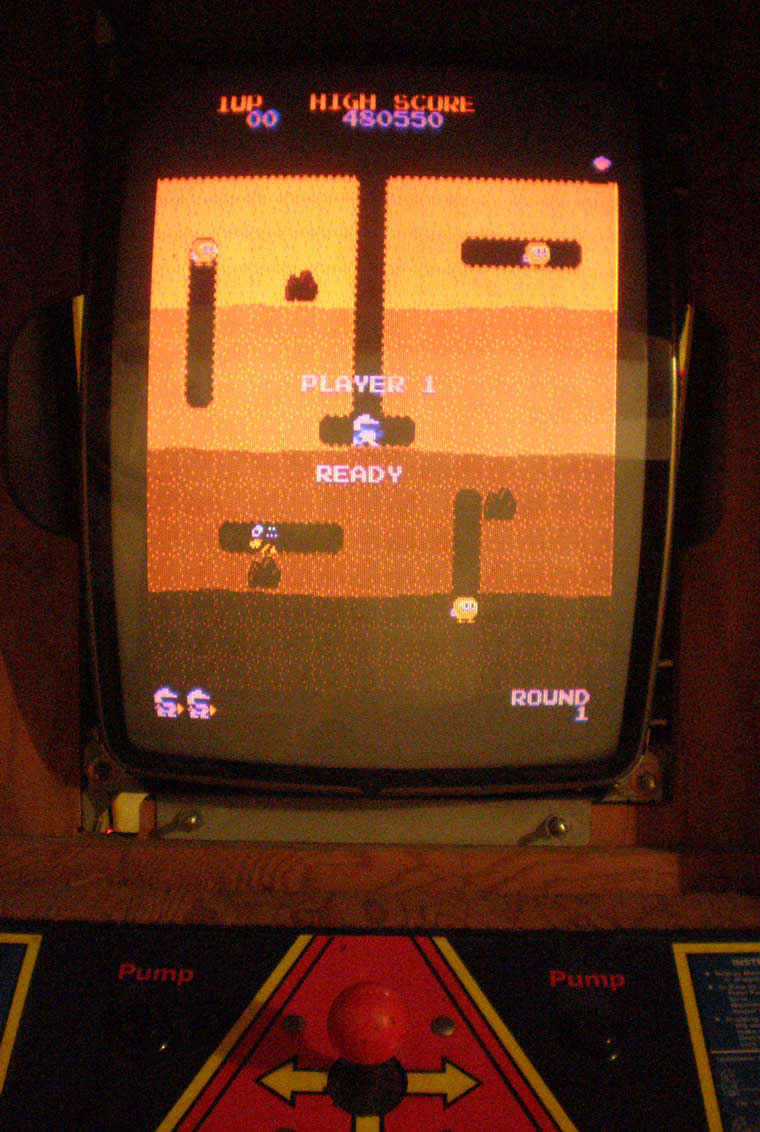
I got a picture! Yes! Not only that, but I got sound! The picture is messed though. I just did new caps, and there seems to be a color missing the screen is really yellow.
This collector that helped me out on the phone also talked to me about the power supply. He says that Bob Roberts makes a kit to do some replacement of different parts on the power supply. The big blue capacitor can cause a lot of problems, and it also come with a new fuse block and fuses and some other stuff. He said this is worthwhile to get. He also said that the audio board is also actually a linear power supply, so it is important to get the schematic and see if it is putting off the correct voltages to the PCB, otherwise as I have learned lately, the incorrect voltages can damage the ROMS, RAMS, EPROMS and any other matter of things.
I still need to attach the AMP connector to the coin box so I can test that out. I hope to do that here in the next day or two.
Figuring out the EZ-20 Monitor hookup
Realized I grounded the monitor wire to wood, doy! So I put that in the right place. Brent and I have beeen emailing back and forth. He has a Kangaroo he is going to try to take photos of the inside hook ups, but it sounds like I am not crazy, and there is a different way to wire an EZ 20 than a regular monitor. It is almost done, and it is bugging me that it is this close. But, I should be able to sell the working Dig Dug really soon.
AMP connector arrives from Allied Electronics
Got the AMP connector in the mail today, so tonight, I spent the night checking everything and putting everything together. I probably could have done all of the work I did tonight a while ago, but at least now, as far as I know there is nothing that should be holding me up. I didn’t put on the connector, but I put in the PCB boards, checked all of my connections, but the cpanel back on and the monitor back in. It took a little while going back and forth between the machines, correcting some things, but finally it was time, and I powered it up. I got sound, humming on the monitor, but no picture. There is a led light on the PCB, but that is about it.
So, I don’t know what now. I wasn’t able to find where to plug in the RGB and Ground as well as sync, that is where I will start. There doesn’t seem to be any pins on this monitor, and it has been so long now since I unplugged that I can’t remember. There is a two hole molex connector on the 20 EZ monitor and another molex connector that doesn’t go to anything. Brent in KY has worked with these, so I emailed him, I hope he can help me out.
Finding electronics stores who carry my AMP connector
I posted in both groups about getting this connector, and no one responded. So, I decided to make an effort to stop at some electronic stores and find out if they had it. Plus, I had to get the diode for the audio board.
Well, I found out the connector is an AMP brand product, and I was able to get a phone number for Tyco Electronics, who apparently own AMP now. The part I needed is the female 9 pin connector, and the part number for this was 1-480707-0, or so I found out when I called their distribution center. Then came the run around. I was supposed to reference their distributors who had it in stock, a list of 40 of them, and then call them all to see which was in Indiana. Their site had no way to narrow it down. Pretty frustrating.
I called two people within the company for help, and they suggested a couple to try, helping me find a couple electronics stores I wasn’t familiar with on the northside of the city. I called Allied electronics, who have an office in Carmel. I wanted to see if they could just mail me a piece for cheap from their location there. Well, I got their home office in Fort Worth, TX, and this great sales rep I spoke with said it qualified as a sample, and that she would mail it to me for free! I was so pleased. They made a new customer! So I should have it in a couple of days.
I soldered on the diode when I got home, making a best guess on the polarity based on the schematic I had. So, once I get the connector I will try plugging everything in and see what I get. I am sure something else will go wrong, but I will know soon enough.
Happs and Wolverine Electronics – Limited Selection
On Friday I finally made it over to Happs and Wolverine Electronics. Neither of them had my 9 pin female molex connector that I need. Happs couldn’t even order it they said. On Thursday I stopped by and got a bag of free molex connectors, I mean a ton of them. But, not the style of one I needed. So, I guess that means I am going to have to try King’s, Meunier’s, or even Fry’s (*gasp*). I have to get the diode for the audio board anyway, so it should be a worthwhile trip. I am just bummed it has been so hard to find this connector. I have the pins, and I posted on both of the main arcade forums, but no one has answered.

