
Arcade Projects
Finally got an Atari Audio II Board
Months just creep by. Today I finally met up with a contact from Kentucky who wanted the monitor tube I took out of the Robotron to Pacland conversion and in exchange gave me an Atari Audio II Board. It needs a resistor soldered on, the typical one I guess that got overworked in Pole Positions in particular. That should be an easy fix, and in theory, again, I think I have all that I need minus that little connector for the coin door. We’ll see if I make it this week either to Happ, or out to the other lady’s house to see if I can get one of those.
May 11th, 2007
I finally made it back to the garage for a short period of time.
Went up in the attic and think I found a piece of composite board that I can use for the spacing on the backside of the control panel. I also installed the PCB holding brackets and secured that inside the cabinet.
It sounds like Tuesday I may be getting that piece of wood cut out at a friend’s house. I have the sander for the panel, so that would leave very little left to getting that done and out of the garage.
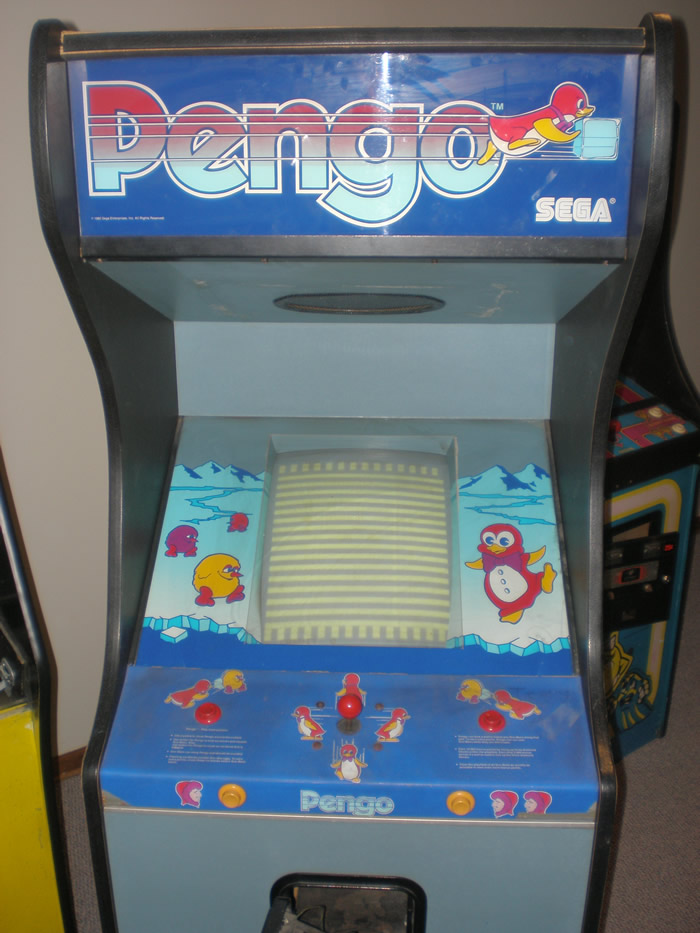
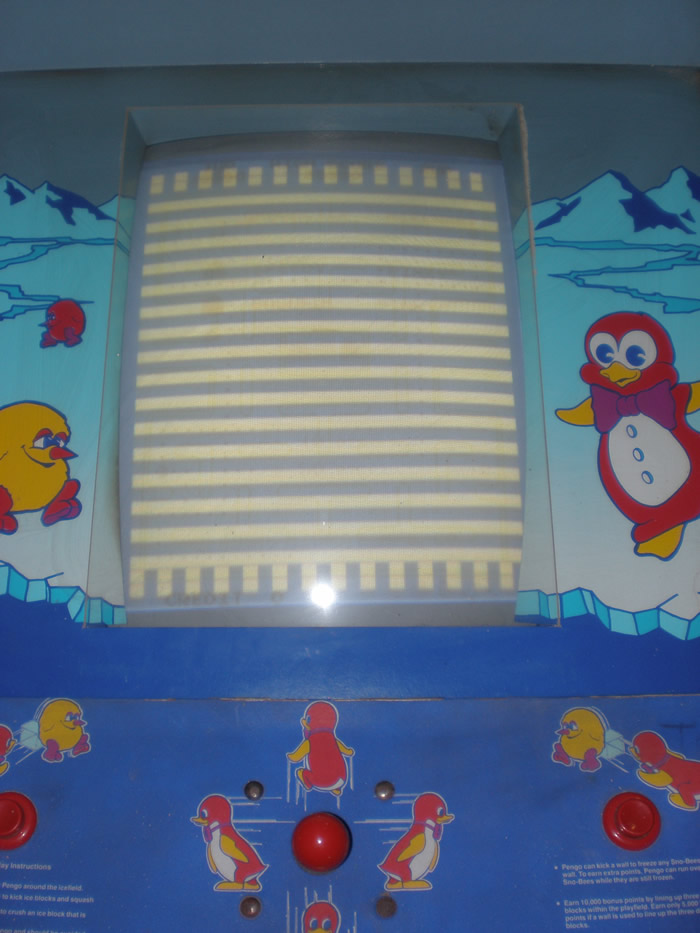
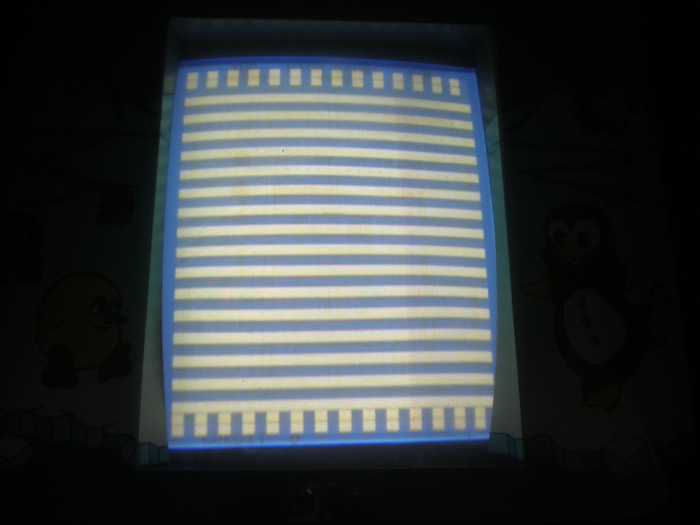
Pengo PCB problem – Thick Yellow Horizontal Bars
Alex emailed me back and said that the board is not something he would work on. He gave me that name of someone else who might be able to, John Robertson. I emailed him, and he let me know that he could, but is two months behind on the boards he has to currently repair. So, I don’t think that is not a very good option.
On a related note, in less than a month, Tim has bought two Pengo’s for really good deals. The one seems to play blind, so he may have two working boards. I don’t know if he will sell me one or not, but we shall see.
I tried to figure some things out about the PCB today online. I research the sound a lot, seems the bad pot that causes the static on the game is very common. I don’t know if the symptons of the sound caused the PCB problems or not (even though I doubt it), but the other thing I read was that the power supply does seem to go back fairly easy. The original Pengo power supply will under or over supply voltage on a regular basis, so that made me think that maybe I should just try to put in a switcher and see what that does.
Ms. Pac-man is alive!
Last night, a miracle happened! I got the game up and working, and it is a beautiful thing. I will try to get photos of it working here pretty soon, but first, how did I do it?
Two weekends back I had been talking with Robert at the Arcade auction here in Indy. I was asking him if he knew anybody that would be willing to help me get some of my machines working, which I have been asking of people for a year or so now. He asked specifically what my Ms. Pac-man was doing, and I explained to him that the power supply was bad, and was dropping amps off one of the leads. So then he tells me that Bob Roberts makes a kit to repair those old power supplys, replacing some capacitors and whatnot.
So, I checked it out. I didn’t see the actual part about the capacitors, but Bob Roberts puts together what he calls a “Pacpower” kit. It is a way to power the PCB with a switching power supply and some custom wiring, all while keeping the original wiring in tact. This answered my biggest questions, because I read you had to hack the wiring all apart if you just wanted to switch in a new switching power supply for the old transformer.
The kit was more expensive than I anticipated, if I wanted to get a new switcher. I knew I had a couple of switchers, but wanted to make sure that I did it right, and I didn’t get to the point of powering on the game with the kit and have the switcher be bad and leave me to test to figure that out. I had looked at Bob Roberts Pacpower kit instructions online, and kind of assumed that it came ready to go, plug and play, but I was disappointed to find out that wasn’t the case. You got all of the parts and you did some assembly.
I got it on Monday, but not figuring that it would work, I didn’t do anything with it right away. I still figured that even if I did the kit, the monitor and PCB both were unknowns on whether or not they were in working condition. Last night I set aside some time to put the Pacpower kit together. It took me awhile, probably about 2 hours, to put together. I am not an expert, and someone who has more experience and didn’t have to read and re-read things carefully on Bob Roberts website, probably could have done it in an hour or less. I made some mistakes, which I will get into later, and had to correct those and figure some other things out, but finally I got everything made and screwed up inside the cabinet.
I crossed my fingers, plugged the game in, and I heard a pop from the monitor, which was knew. I rushed around to the other side, and my game was on! It was already set on freeplay, which I thought was interesting, so I pressed the player one button and away I went. I also had the speedup chip already installed! I was so pumped about all of this. The weirdest thing, the immediate thought I had after I started to play was, “I wonder if I should install a 96-1 kit on here and get all of the games.”
I took a look at a couple of other things, I looked at the manuals and figured out which one was the sound pot, and got that turned down. It was arcade style volume, and it no longer needed to be so loud in my basement. The marquee light doesn’t seem to be working, and I thought it did before I did this, so I will have to do some testing on that to make sure I didn’t mess it up. The monitor has some pretty solid screen burn, but you know what, I don’t really care right now. I can be picky later.
But after hearing the original story of this game, and how it sat in a storage unit, I was suprised about the “freeplay” being set and the speed up chip installed. It must not have sit in that storage that long is my thought, that maybe the last user had it in a personal non-commercial setting.
Either way, all I know is that my game works, I got it to work, and I am pumped that my ratio of non working games is now less than those that I have that do work or are at least close. Sarah was confused at how I was acting, but happy for me that I got it up and running.
Note: Back to the Bob Roberts Pacpower kit. The instructions online are very good for a newbie to install this kit in their Ms. Pac-man. However, towards the end he trails off on some small details that he takes for granted that most people know, and I had no idea because I am so slow at this type of stuff. I hope to take his tutorial and make an little addendum section and post that here in case anyone needs further explanation of some things.
Sanding Pac-man cabinet, wiring Mr. Do!
Today was the day, and a long one.
We got the belt sander from Wes and got to work in the early afternoon. I sanded one whole side of the Pac-man cab before I felt like I really needed to go and get some more belts. We went and got a two pack, and a plastic bristle brush to wipe off the wood particles if the belt got clogged.
I then sanded the remaining three sides of the cabinet. The hardest seemed to be the back up at the top, with the small area, all the holes and areas where stickers had been. We took a scraper to parts of it to get some of the paint off. In the end, the whole cab looked great, back down to the base plywood for a fresh start.
I took some citrus cleaner and cleaned the bottom of the cab and the top a little bit, without spending too much time on either. The top isn’t really clean, but I was in a bit of a rush and knew we wouldn’t finish everything today.
Then I took some CLR and mixed it into some warm water and wiped down the inside of the cabinet. It was a little damp, so I put it out in the driveway in the sun, and went inside for an hour or so to let it dry.
Then, later we came back out and got started. The cabinet didn’t have the monitor mounting rails in it when I got it, because there was no monitor, so fortunately I had the rails from my other Pac-man cabinet so we used those. I will just have to find myself a cheap second set of rails for the game.
We put the monitor in, mounted it, and then Justin got to putting in the other parts. He put in the switcher power supply, the isolation transformer, and redid the wiring. He had to hack apart the Vs. Golf power supply for the cord, and for the fuse mounting because the other one was completely fubar.
While he was doing this, I was taking apart the old control panel and figuring out to do with the controls. The Joystick was a rusted piece of junk that was mounted too low, so I took out a bat handled joystick from a Ms. Pac control panel to use instead. I took off the buttons and the control panel overlay was just pressed between some composite board and plexiglass, so I was able to save that. I then had to get all the wiring right, so I had some soldering to do for the new joystick.
Justin got everything hooked up, including putting the power switch back in, and getting the gameboard ready, turned on the game, and Bam!, it looked great. Only problem was the screen was upside down, and there didn’t seem to be a dip switch to flip it, so we took the monitor out and turned it around. When we did that I realized the way the frame was facing that this was the correct way to have it mounted based on the other Pac machines I have seen.
I made a little tag for the connector to signify the parts side, and then turned my attention to the control panel. I took the extended clip racks off the old vs. control panel and then drilled some holes in my Pac-man control panel to mount those. First try, the control panel snapped into place in the cabinet.
So the last thing we did was test the controls. The joystick had to have two wires swapped, but because I use easy connects, that wasn’t a problem, and the game was working fine. I wasn’t able to mount the buttons yet because there is no spacer with the metal control panel, no wood like there was in the original, so I have to figure out what to do there. I also have to add some screws to fasten the joystick, and I would like to sand the whole thing down and give it a new coat of paint before I am done.
It was a really solid day of work. The marquee bulbs don’t work right now, but they are getting power, so that is good. And because they are just regular bulbs, they are easy to replace.
Next step will be mounting the joystick, and then figuring out how to mount the buttons, if I put wood on the back or what my choice is. Quite and upgrade from where the cabinet was when we first got it.
My R-Type buttons stopped working.
The controls for the release of the protector for the R-Type ship had mysteriously stopped working. One day a couple of weeks back I turned the machine on and they weren’t working.
Justin took a look at them, it was weird, both black buttons just stopped making connections and closing the circuit. He was up late, so after he figured out what the problem was he just adjusted them and they were fine. I had a similar problem with the fire right after I got the game, I was surprised to have this happen all of a sudden, but just glad it works again.
Stripping the Pac-man cabinet
Even though it was very sad, tonight we stripped the old Pac-man cabinet I had sitting in the garage. Justin was down and he brought with him all of the guts from the Mr. Do I had bought last November.
Now, this Mr. Do was the most hideous thing you had ever seen. It was in an old Space Duel cabinet with chewed up sides, the joystick was sunken in, the monitor didn’t even have a frame so the chassis was attached directly to the wood, etc. etc. I ended up finding a buyer for the thing, a Mame guy, and for $15 I didn’t have to worry about it ever going in the basement.
So, I had some paint stripper, and although I went back and forth on what to do with the Pac-man cabinet, I decided a couple of things. I am tired of walking around it in the garage. It could be one of the most common cabinet, so to destroy the already partially destroyed artwork that had been painted over wouldn’t be as big of a deal. People were making new ones all the time. I also wanted the experience of how to strip one down, it should be a fun project, and I had already bought the stripping stuff.
Overall it took about two and half hours total to strip down to small bits of paint and primer.
Justin and I also got out the old monitor, and put it into a horizontal frame from another tube I had from the Robotron cabinet.

